Christmas Holly Sign 3D Paper Cut SVG Guide
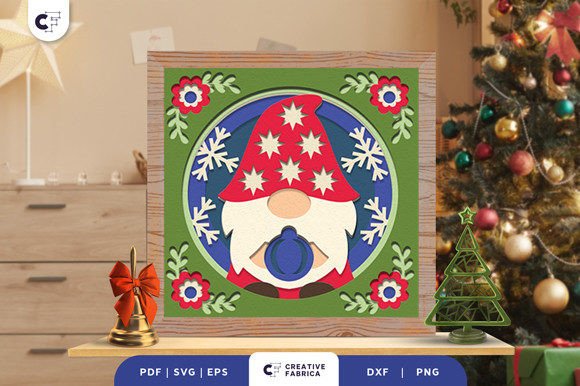
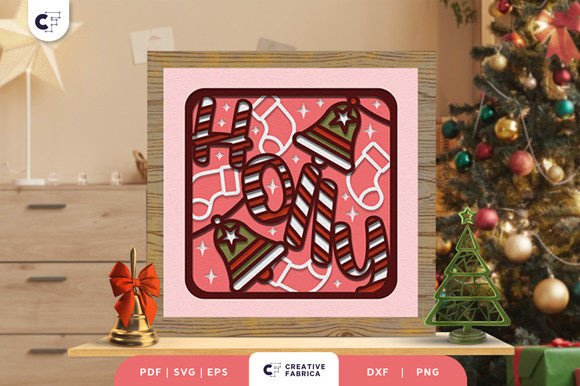
The holiday season often calls for decorations that feel personal rather than mass-produced. A Christmas Holly Sign 3D Paper Cut SVG offers a unique way to bridge the gap between digital design and tangible festive cheer. This specific project, often referred to as a Holly Christmas Bell 3D Shadow Box, transforms flat cardstock into a layered scene featuring cute Christmas candy and ringing bells. It is not just a file; it is a blueprint for creating depth and texture in your home decor or product line.
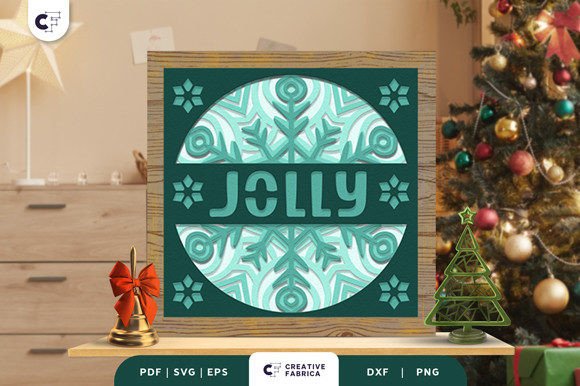
At its core, this design is a multi-layered vector file intended for use with electronic cutting machines like Cricut. The file typically includes seven distinct layers that, when assembled with PVA glue, create a shadow box effect measuring approximately 20.32×20.32 cm. While the concept sounds technical, the result is a warm, inviting piece of art that captures the essence of winter traditions. Whether you are a seasoned crafter or someone looking for their first paper project, understanding how this tool fits into your specific workflow is key to getting the most out of it.
Why This Design Matters to Different Creators
The value of a Christmas Holly Sign 3D Paper Cut SVG shifts depending on who is holding the scissors—or the weeding tool. What looks like a simple holiday ornament to one person might represent a crucial inventory item for another. The beauty of digital cut files lies in their flexibility; they serve as a common foundation for vastly different goals.
For the beginner hobbyist, the primary concern is often ease of use and the learning curve. A seven-layer project might seem daunting initially, but it provides a structured way to learn about layering, spacing, and adhesive techniques without needing to design from scratch. The pre-made nature of the SVG means the complex math of alignment is already handled, allowing the user to focus on the tactile joy of assembly. Success here builds confidence to tackle more original designs later.
In contrast, a professional creator or small business owner evaluates the same file through the lens of production efficiency and commercial viability. For them, the consistency of the SVG format (along with PDF, EPS, PNG, and DXF options) ensures that every unit produced looks identical, maintaining brand quality. The ability to cut multiple units quickly using 80 lb cover cardstock allows for scalable production. Here, the priority shifts from "can I make this?" to "how efficiently can I make ten of these for a craft fair?"
Practical Applications Across Skill Levels
Understanding your own position on the crafting spectrum helps determine how you approach this project. Let's look at how different users might prioritize aspects like cost, quality, and creativity.
- Educators and Workshop Leaders: For those teaching crafts, this project offers excellent learning value. It demonstrates principles of 3D construction and color theory. An educator might use the DXF or SVG file to prepare kits for a community center holiday workshop, focusing on the collaborative aspect of assembling the layers.
- Interior Design Enthusiasts: Home decorators care deeply about presentation and how the item fits existing aesthetics. They might experiment with non-traditional paper colors to match a specific room palette, knowing that the final product color may vary slightly due to lighting sources. Their goal is a stylish, meaningful gift or centerpiece that feels bespoke.
- Freelance Designers: A graphic designer might purchase this file to analyze the layer structure, using it as a reference for creating their own custom holiday assets. They value the technical precision of the vector paths and the clean separation of elements.
Technical Considerations and Material Choices
Executing a 3D shadow box requires attention to detail, particularly regarding materials. The recommended medium for this project is Encore Cardstock 80 lb cover (216 gsm). This weight is critical; lighter paper may warp under the weight of multiple layers or fail to hold the structural integrity needed for the "shadow" effect. Heavier chipboard might be too difficult for standard home machines to cut cleanly through seven layers.
When preparing to cut, ensure your machine settings are calibrated for this specific weight. The file formats provided—SVG, PDF, EPS, PNG, and DXF—offer compatibility across various software ecosystems. If you use Silhouette Studio, the DXF might be your go-to, while Cricut Design Space users will likely prefer the SVG for its automatic layer recognition. This flexibility ensures that regardless of your hardware, you can access the design.
Assembly is where the magic happens. Using PVA glue is recommended because it dries clear and provides a strong bond without warping the paper as quickly as wet glues might. Apply small dots to the designated contact points between layers. Rushing this step can lead to misalignment, which diminishes the 3D effect. Take your time to let each layer set before adding the next, ensuring the candy and bell motifs pop correctly against the background.
Evaluating the Investment for Your Goals
Before downloading or purchasing a Christmas Holly Sign 3D Paper Cut SVG, consider what you hope to achieve. Are you looking for a quick weekend activity, or are you building a catalog of holiday products?
If speed is your priority, note that while the cutting is fast, the weeding and assembly of seven layers take time. This is not an instant-gratification project but one that rewards patience. If creativity is your driver, view the file as a starting point. You can modify the colors, add glitter accents, or even back the shadow box with LED lights for a glowing effect.
For entrepreneurs, the commercial potential lies in the perceived value of handmade goods. A 3D paper cut sign often commands a higher price point than a flat print because of the labor and dimensionality involved. However, always check the licensing terms associated with the file to ensure you have the rights to sell finished physical products.
Ultimately, this project transports you into a world of tasty design and festive cheer. It bridges the digital and physical worlds, offering a tangible connection to the holiday spirit. Whether you are crafting a single gift for a loved one or producing a batch for a boutique, the Holly Christmas Bell 3D Shadow Box stands as a testament to the enduring appeal of paper crafts. By selecting the right materials and understanding your own objectives, you can create a piece that is both visually striking and personally significant.
Remember that images seen online are often for preview purposes only. The actual final product color may slightly vary due to lighting sources and the specific paper color you choose. Embrace these variations as part of the handmade charm. If you need high-quality materials to bring this vision to life, exploring specialized shops for 12×12 cardstock can ensure your final result matches your expectations. With the right preparation and a bit of festive enthusiasm, this SVG file becomes more than just data; it becomes a cherished part of your holiday tradition.