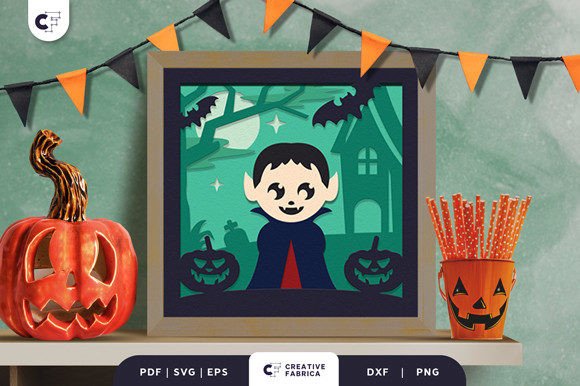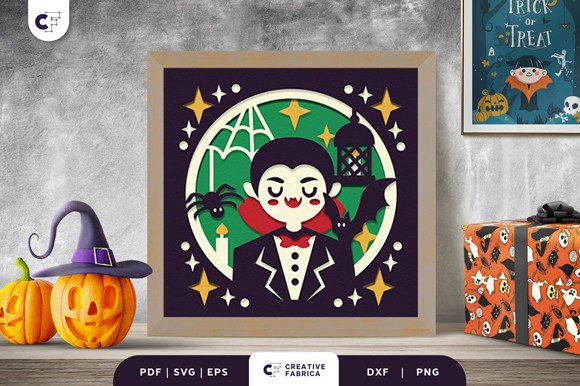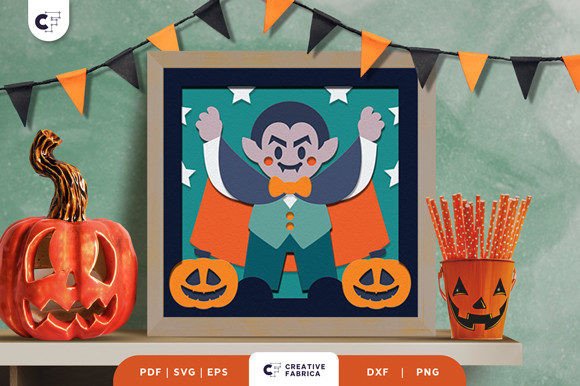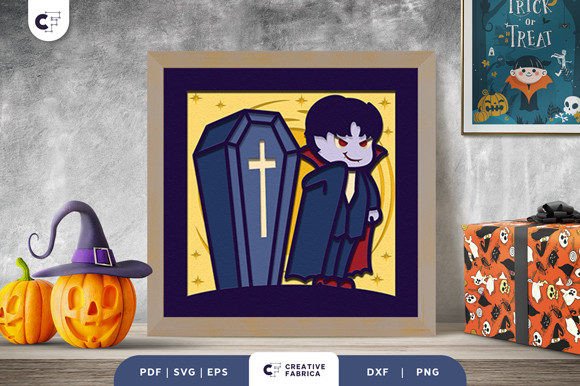
Spooky Meets Sweet: The Ultimate Guide to Creating a Kawaii Vampire 3D Paper Cut Light Box
Halloween is traditionally associated with frights, ghosts, and things that go bump in the night. However, there is a delightful, humorous side to this autumnal holiday that often gets overlooked. Not everyone enjoys being scared; many prefer a celebration filled with whimsy, charm, and great feelings. This is where the concept of Kawaii—the Japanese culture of cuteness—intersects perfectly with classic Halloween tropes. Imagine a little vampire who has just stepped out of his funeral coffin, not to haunt you, but to greet you with an adorable cape and handsome, non-threatening teeth. This is the essence of the Kawaii Vampire 3D Paper Cut Light Box, a project that transforms a scary symbol into an eye-catching ornament suitable for parties, nurseries, or cozy home decor.
Understanding the Art of Layered Paper Cutting
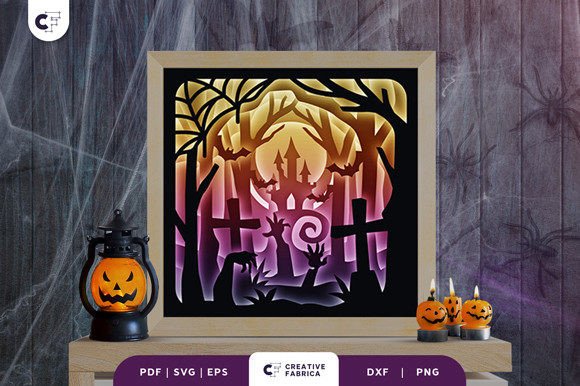
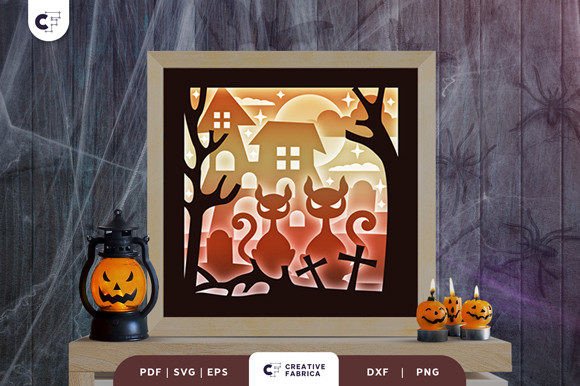
To truly appreciate this project, one must understand the mechanics behind it. A 3D layered paper cut design is more than just a stack of colored sheets; it is a method of creating depth and dimension using two-dimensional materials. By cutting identical outlines in slightly varying sizes or details across multiple layers of paper and stacking them with spacers in between, artists create shadows and highlights that mimic three-dimensional sculpture.
When you adapt a design like the Little Vampire into a shadow box or lightbox, you introduce a new element: illumination. The light source, typically an LED strip or a small bulb placed at the back of the frame, shines through the layers. This causes the edges of the cut paper to glow softly while casting intricate shadows on the layers beneath. The result is a magical, ethereal effect that brings the character to life. The "Kawaii" aesthetic softens the vampire's features, making the sharp angles of the coffin and the points of the ears feel friendly rather than menacing.
Why This Trend Matters in Modern Crafting
In today's fast-paced digital world, there is a growing appreciation for tactile, hands-on creativity. Projects like the 3D paper cut light box offer a perfect blend of modern technology and traditional craftsmanship. They fit seamlessly into modern life as unique home decor items that stand out against mass-produced plastic decorations. For educators and parents, these projects serve as excellent tools for teaching children about layering, light, and spatial reasoning. For businesses, offering digital files for such designs taps into the booming maker economy, allowing customers to personalize their own creations.
Furthermore, this type of crafting democratizes art. You do not need to be a master painter or sculptor to create something stunning. With the right digital files and a cutting machine, anyone can produce professional-looking art. This accessibility encourages creativity and allows individuals to express their personal style during the Halloween season without relying on store-bought decorations that lack soul.
Step-by-Step: Bringing Your Little Vampire to Life
Creating your own Kawaii Vampire 3D Layered Paper Cut is a rewarding process that yields impressive results. Whether you are a beginner with a new machine or an experienced crafter looking for your next project, the workflow remains consistent and manageable. Here is how you transform digital files into a glowing masterpiece.
- Prepare Your Digital Files: The foundation of any successful cut is the file itself. You will need design files compatible with your specific hardware. Popular formats include SVG (Scalable Vector Graphics) for Cricut and Silhouette machines, DXF for older plotters, and PDF or EPS for universal use. Ensure you download the complete package, which often includes PNG previews for reference.
- Select Your Materials: The quality of your final product depends heavily on your paper choice. For a sturdy lightbox that holds its shape and blocks light effectively between layers, heavy cardstock is essential. We recommend using Encore Cardstock 80 lb cover (216 gsm). This weight provides enough rigidity to maintain the 3D structure without buckling under the heat of a light source, yet it cuts cleanly. You can find high-quality options at specialized retailers like the 12×12 Cardstock Shop.
- Cut the Design: Load your chosen cardstock colors into your cutting machine, such as a Cricut, ScanNCut, or CNC router. Import your SVG or DXF file into the machine's software. Since this specific design features 8 distinct layers, pay close attention to color mapping. Assign specific colors to specific layers in your software to ensure the machine cuts the right shapes from the right sheets. The standard size for this project is typically 20.32 × 20.32 cm (8x8 inches), which fits perfectly into standard square frames.
- Assemble the Base Layers: Once cutting is complete, carefully weed away the excess paper. Begin assembly by placing the bottom-most layer (usually the background or the deepest part of the scene) onto your base board or the back of the frame. Use glue dots or double-sided tape to secure it. It is crucial to use adhesive that adds height; foam tape strips work best here to create the necessary gap for the 3D effect.
- Build Up the Layers: Proceed layer by layer, aligning each subsequent cut precisely over the previous one. The registration marks included in most professional SVG files can help you align the layers perfectly. As you add the vampire's cape, his face, and finally the foreground elements, the image will begin to pop out from the background.
- Install the Lighting: Once all 8 layers are secured and the glue has set, install your lighting element. LED fairy lights or a dedicated LED panel are ideal because they emit very little heat. Place the light source behind the final backboard or within the frame's recess. Turn it on to reveal the glowing silhouette of your adorable vampire.
Troubleshooting Common Challenges
Even with clear instructions, crafters may encounter minor hurdles. A common misunderstanding is that any paper will suffice. However, using paper that is too thin (below 65 lb) can result in a flimsy structure where the layers collapse, ruining the shadow effect. Conversely, paper that is too thick may be difficult for some hobbyist machines to cut cleanly, leading to jagged edges. Always test a small corner of your cardstock before committing to the full design.
Another frequent issue is alignment. If the layers are even slightly off-center, the 3D illusion breaks. Take your time during the assembly phase. Using a light table or holding the stack up to a window can help you see through the layers and ensure perfect registration before applying adhesive. Additionally, remember that the final product color may vary slightly from the preview images due to different lighting sources and the natural texture of the paper. This variation is part of the handmade charm, not a defect.
The Versatility of 3D Paper Art
The beauty of the Kawaii Vampire 3D Paper Cut extends beyond just Halloween. The techniques learned here are applicable to countless other designs. Once you master the layering process, you can apply it to wedding invitations, baby announcements, landscape art, or even corporate logos. The ability to turn a flat vector image into a tangible, lit object opens up endless possibilities for personalization and gift-giving.
For those interested in the business aspect, selling these finished lightboxes or the digital files themselves can be a lucrative venture. The market for unique, handmade holiday decor is vast. By offering a product that balances the spooky with the sweet, you appeal to a broader audience, including families with young children who might find traditional horror themes too intense.
In conclusion, the Little Vampire 3D Layered Paper Cut is more than just a craft project; it is a celebration of creativity, technology, and the joy of making. It proves that Halloween can be fun, approachable, and visually stunning without relying on fear. Whether you are decorating for a party, teaching a class, or simply enjoying a quiet evening of crafting, this project offers a perfect blend of challenge and reward. So, gather your cardstock, fire up your cutting machine, and let this adorable vampire bring a warm, glowing light to your home this season.